
How to create a profile
A profile represents you, your child, a family member, or another person you want to make plans for in AI Parent. Only the person’s name and grade or life stage are required to get started.
Free users can create one profile. Premium users can create up to 16 profiles.
When creating an AI Parent account with a username and password, you may optionally create a profile during sign-up. Creating a profile during sign-up is not required. This option is not available when signing up with Google or Apple; those users can create a profile from the Profile page after signing in.
Option 1: Create a profile during sign-up
This optional shortcut is available only when you create an account with a username and password. During sign-up, enter your name and select a grade or life stage when prompted. AI Parent will use that information to create a profile for you as part of the account setup process.
You may skip the profile option and finish creating your account without a profile. You can always add one later from the Profile page.
Option 2: Create a profile from the Profile page
This method is available to all users, including people who signed up with a username and password, Google, or Apple.
Step 1: Open the Profile page
After signing in, go to the Profile page in the app. This is where you can view existing profiles and add another person.
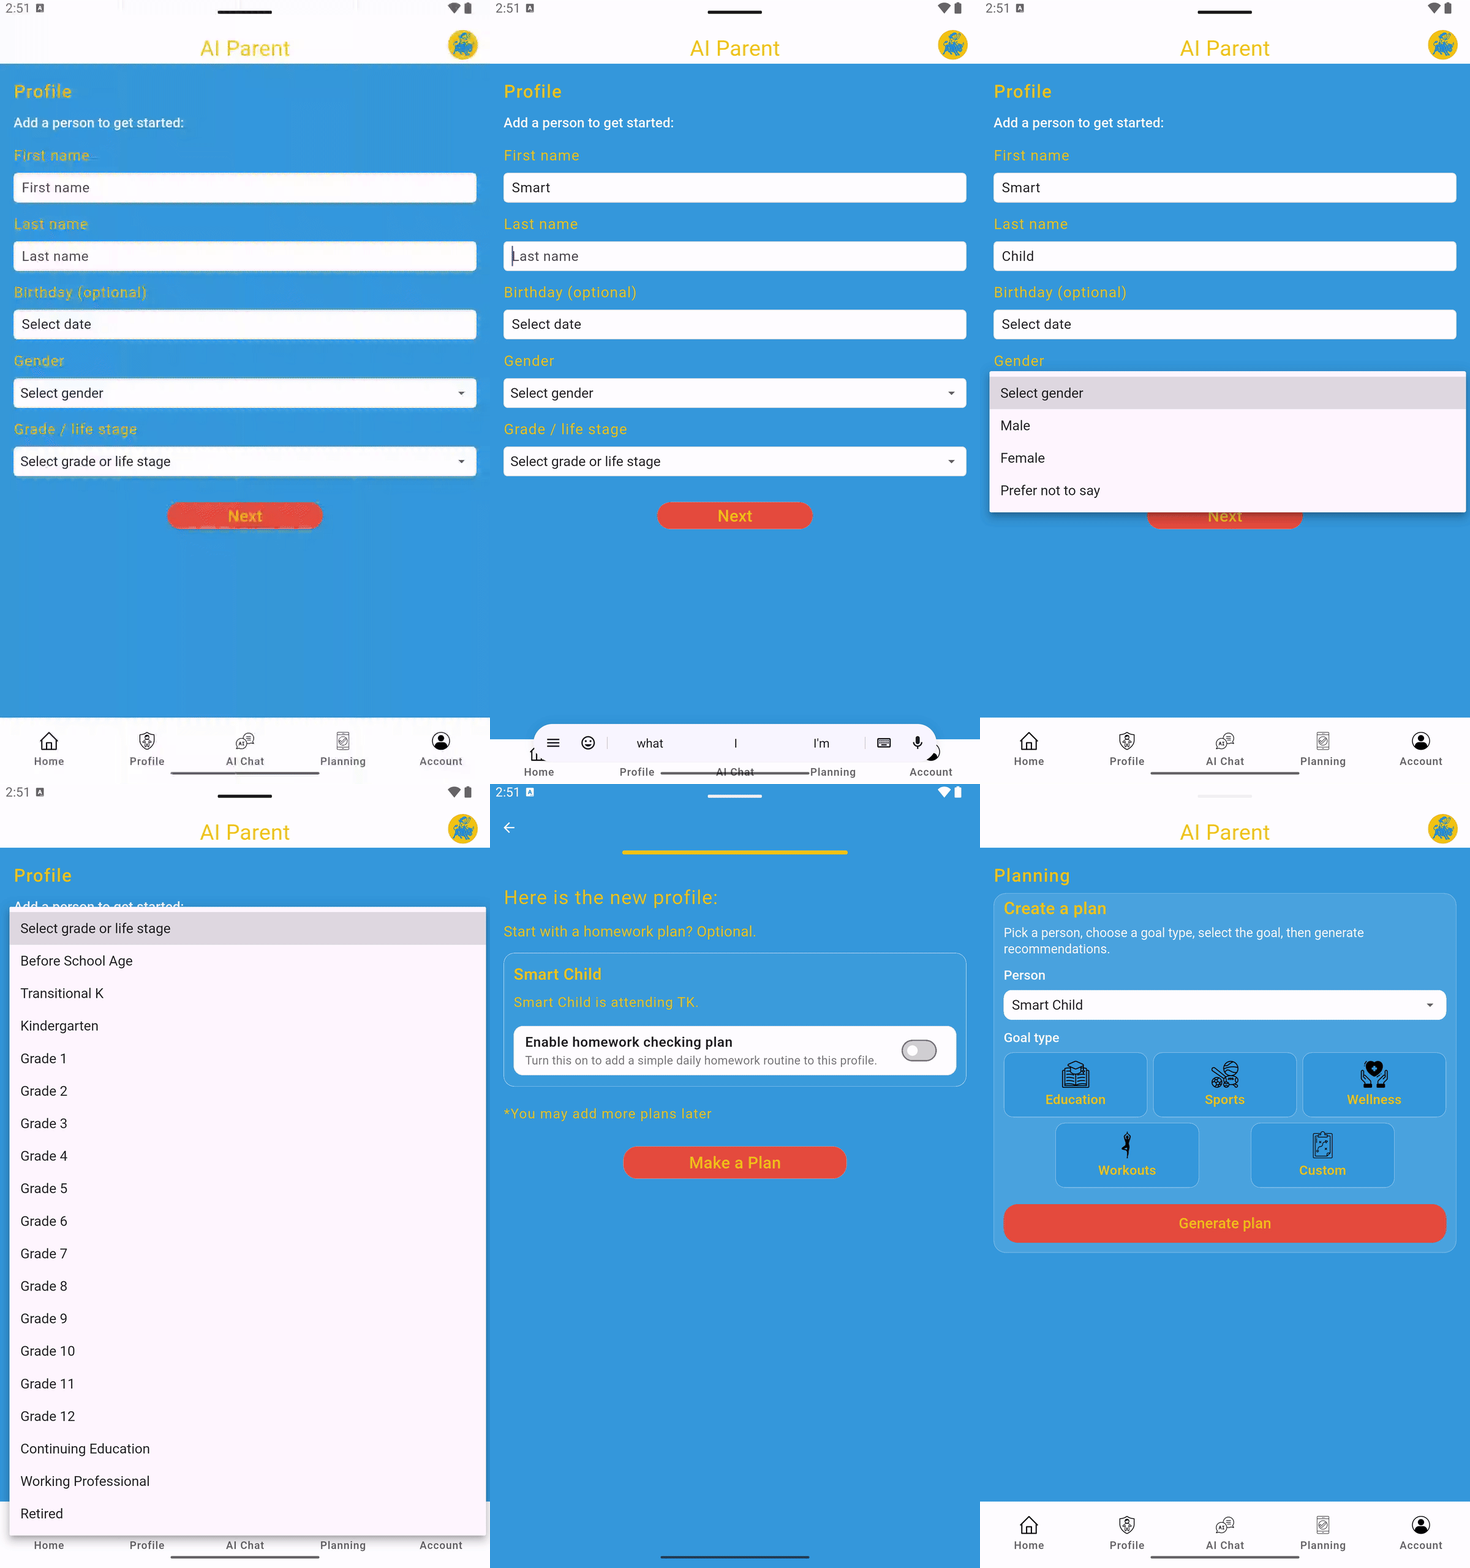
Step 2: Start the profile creation flow
If you are creating your first profile, continue to Step 3. If you already have a profile, tap the “Add a person” button to create another one.
Step 3: Enter the name and grade or life stage
Enter the person’s first and last name, then choose the grade or life stage that best matches them. This information helps AI Parent generate plans and tasks that are more relevant to the person.
Only the person’s name and grade or life stage are required to create a profile.
Step 4: Add birthday and gender information (optional)
You may add the person’s birthday and gender, or skip these fields and add them later. Age may help AI Parent personalize certain plans when birthday information is provided.
Step 5: Choose whether to enable the Homework Plan
For school-age profiles, you may choose whether to enable the optional Homework Plan during profile creation. The Homework Plan includes standard tasks designed to support assignment completion and consistent homework habits.
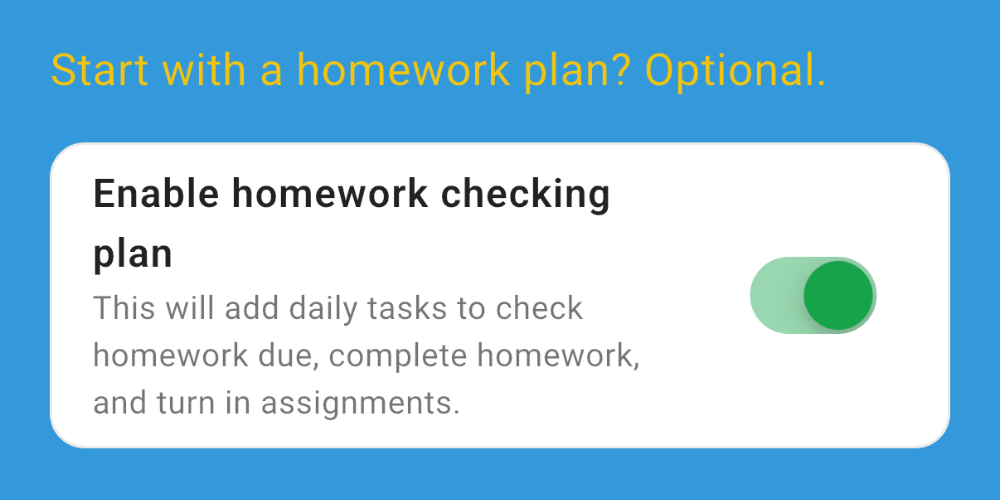
You may enable the Homework Plan or skip it. Its task schedules can be adjusted later when viewing the person’s saved plans from the Profile page.
Step 6: Save the profile
Finish the setup and tap Save. The person will appear on the Profile page and can be selected when creating future plans.
What happens next
After creating a profile, open the Planning page to make a personalized education, sports, wellness, workout, or custom plan. Saved plans can be viewed and managed under the person’s profile.
Quick summary
- Username and password sign-up: You may optionally create a profile during sign-up, or skip it and add one later.
- Google or Apple sign-up: Sign in first, then create a profile from the Profile page.
- Profile page: Start creating your first profile, or tap the “Add a person” button to create another profile. Enter the required name and grade or life stage, complete any optional fields, and save.